Pysanky: Ukrainian Easter eggs
I think I figured out how to solve all the problems in the world — make more pysanky.
One Hutsul legend says a monster, Pekun, lives in the Carpathian Mountains, shackled to a cliff. Pekun has servants who go and check on people in villages and towns and report back to him about their behaviour. If people are angry with one another and argue, Pekun laughs, loosening his chains. But if they are kind to each other, and if they continue creating pysanky, Pekun’s chains tighten, ensuring he doesn’t get loose and wreak havoc on the world.
Seems logical enough.

Pani Picklyk herself.
People have been creating pysanky, eggs decorated in traditional Ukrainian motifs, for thousands of years. There are many legends about the origins of pysanky, including the mountain monster one, plus many from Christian times, which you can read about here. Though in modern days, we associate pysanky with Easter, they are believed to offer protection from evil all year — place them under beehives for better honey production and display them in a bowl in your home for good luck.
I’ve made pysanky with my family before, though we often created just dyed eggs, rather than “written” pysanky, which comes from the Ukrainian word pysaty, meaning to write.
It was pretty special to experience Easter and the associated traditions when I was in Ukraine two years ago. I was living in Lutsk at the time and went to Lviv for the actual Easter weekend. (Read about it in this blog post.)
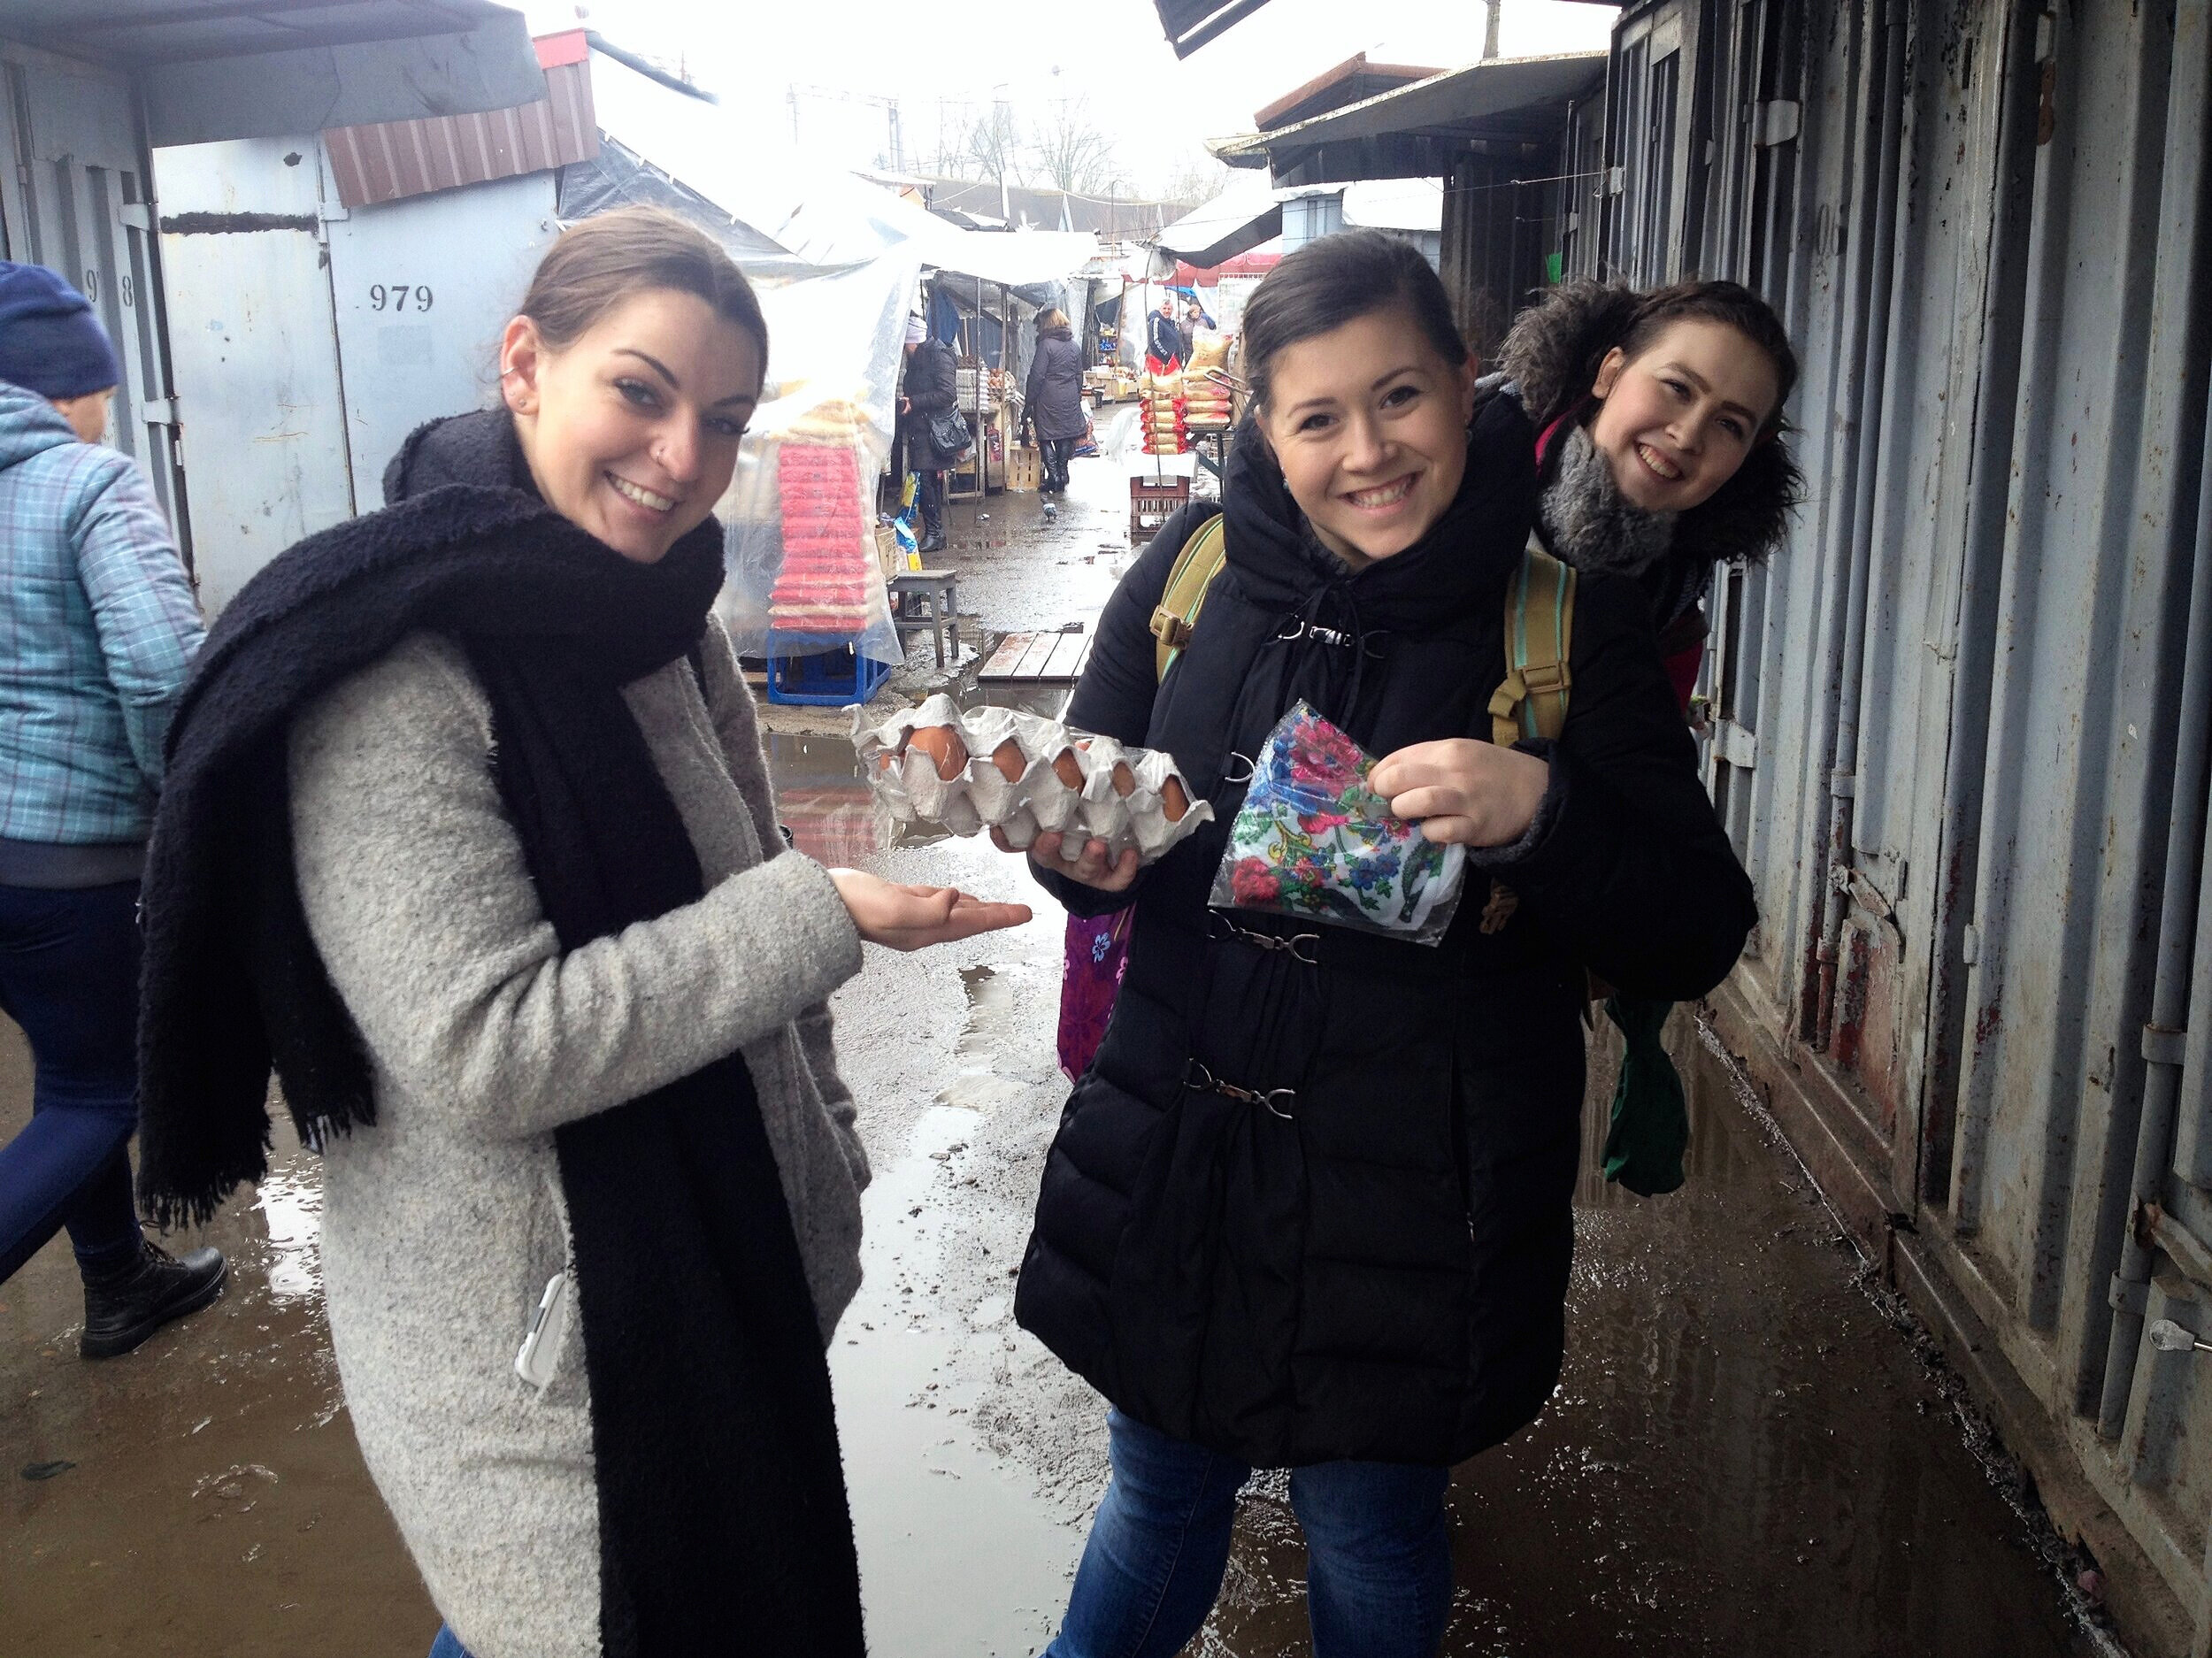
But while in Lutsk, Hannah Picklyk, my friend and pysanky enthusiast (and podcast co-host), invited some friends over for Pani Picklyk’s Pysanka Palace. The day before, we had gone to the market to grab some supplies. Some of us already bought a kistka at another market at some point during our year, so all we needed were eggs and wax.
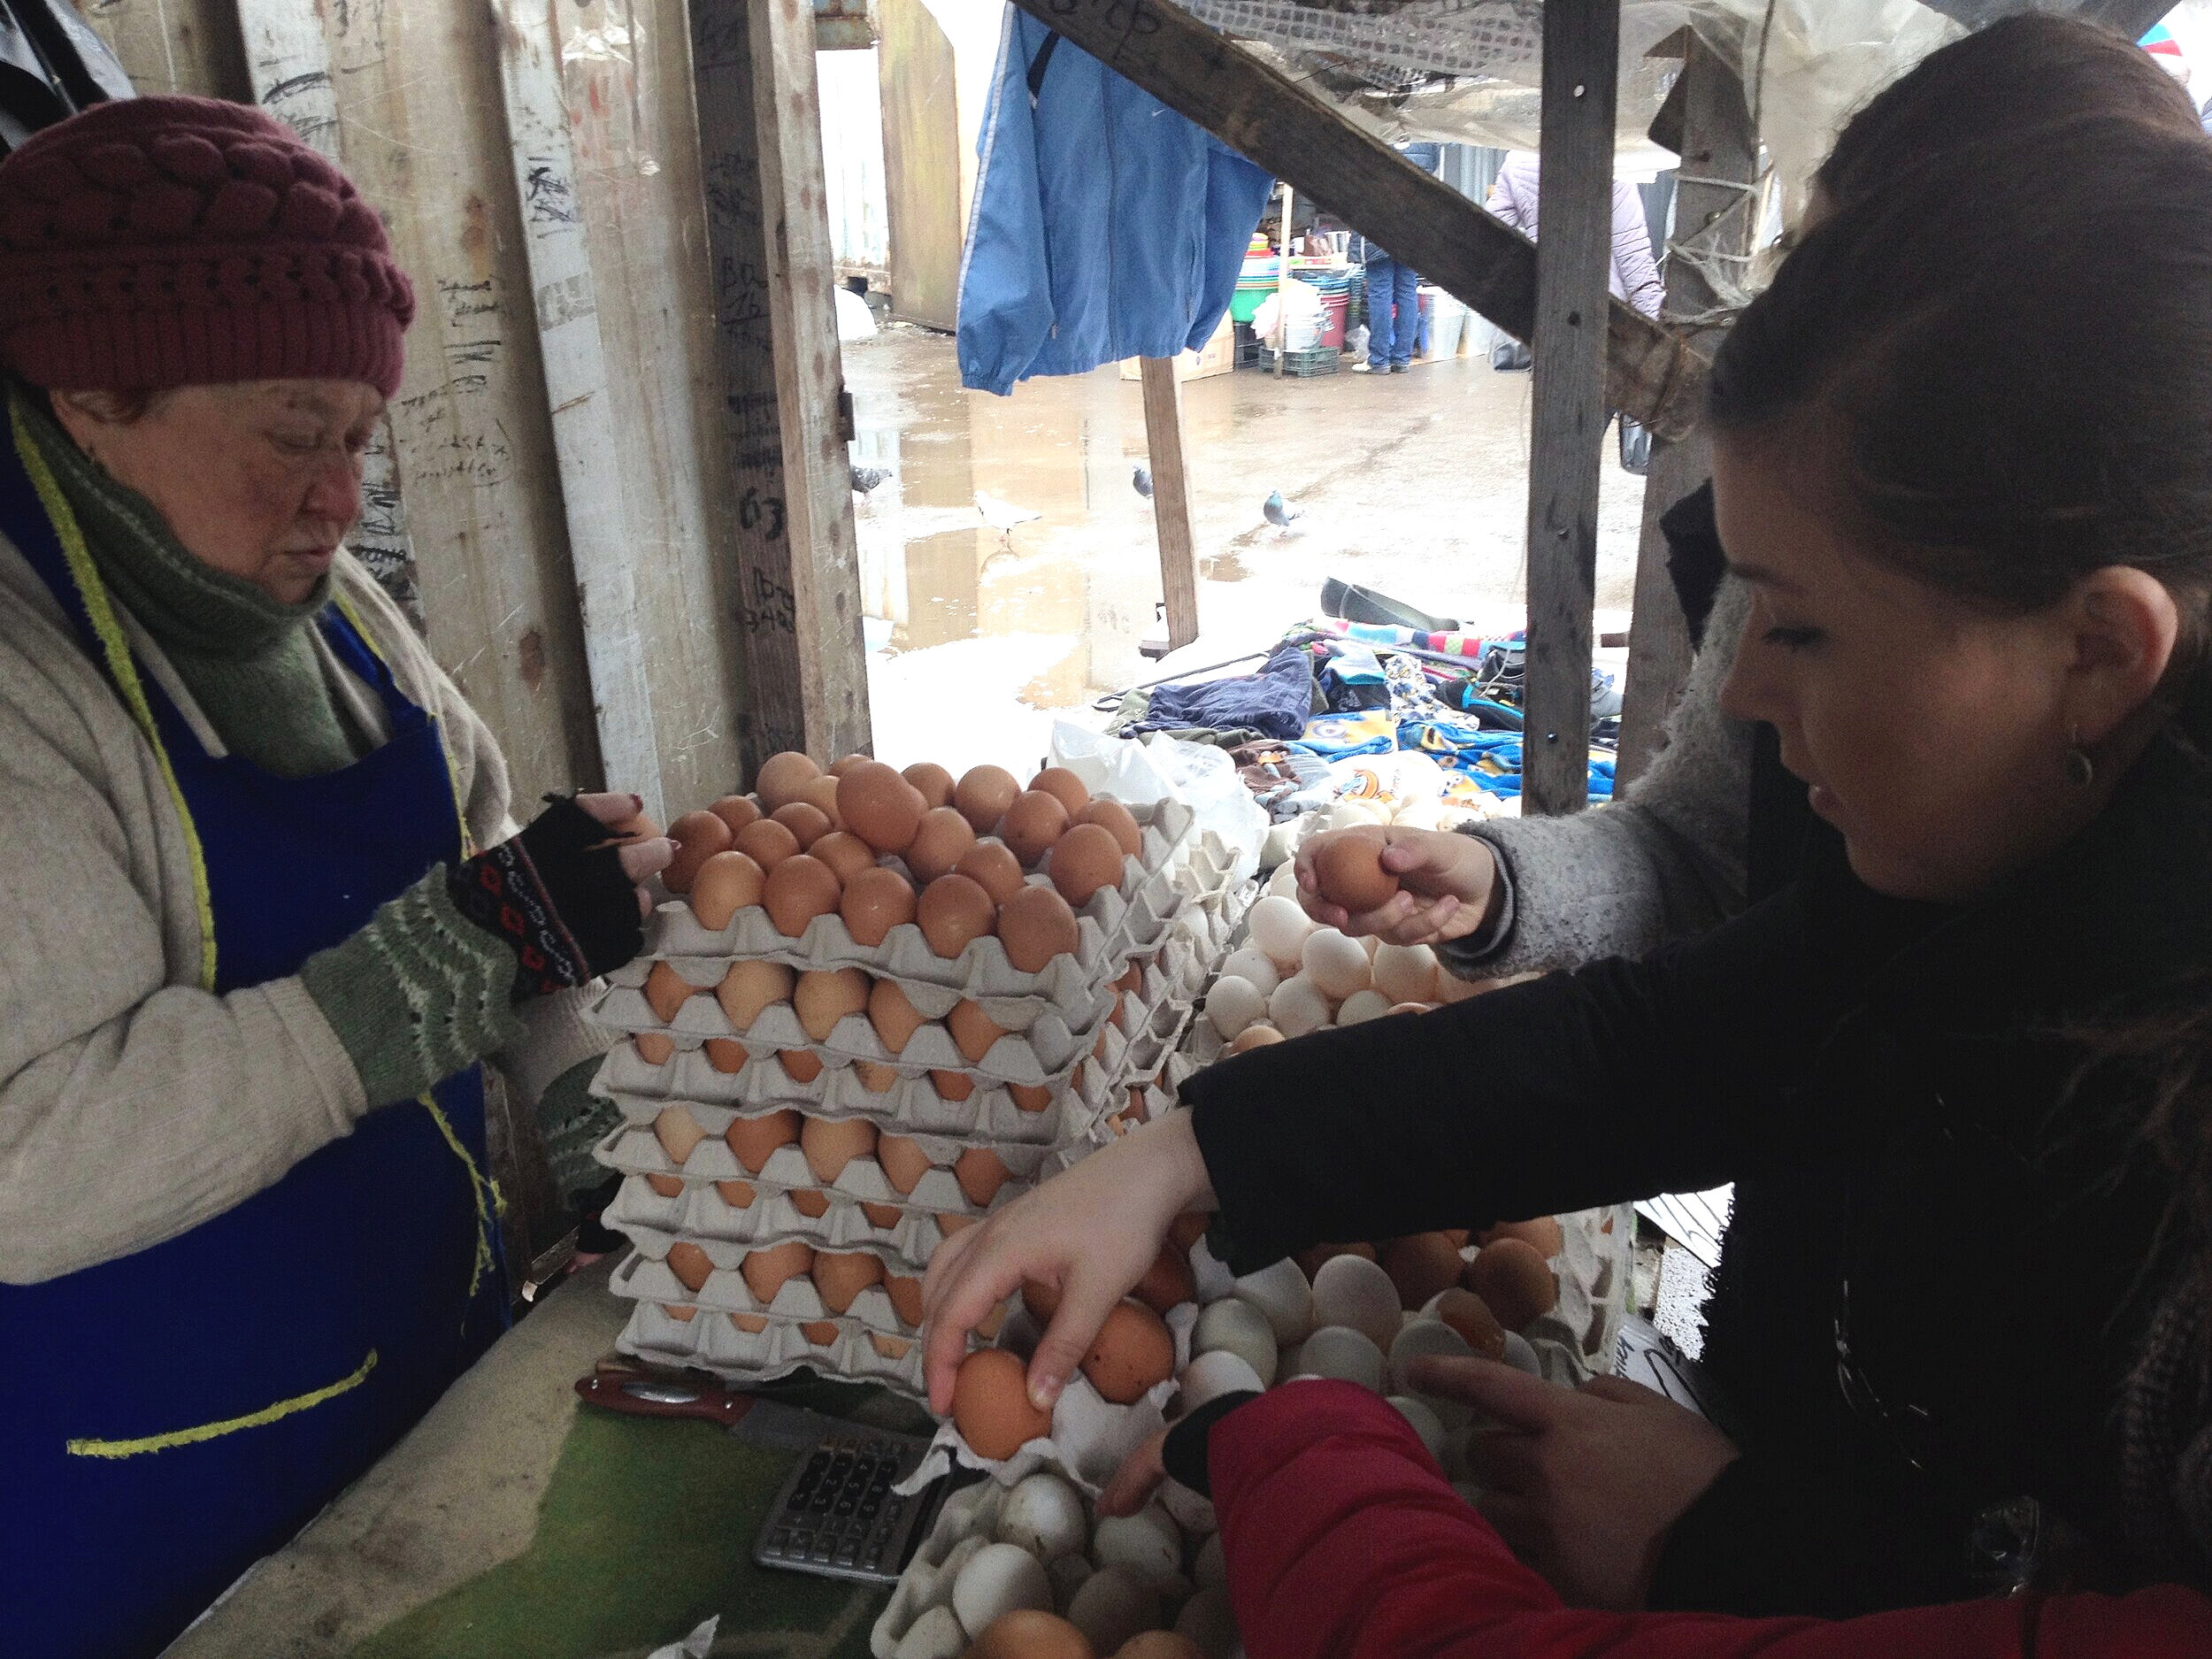
So we went to the Central Market in Lutsk, right next to the castle. We soon found eggs, opting for ones with brown shells. In every tray of eggs, there was one cracked open so you could see the colour of the yolk. The lady selling the eggs was very kind, letting us point to and choose which ones would work best for us — we wanted dark brown eggs to give us more options when creating our designs. She taped up a makeshift egg carton, and we continued on our search for supplies. After a bit of searching, and after nearly giving up, we found beeswax then headed home.
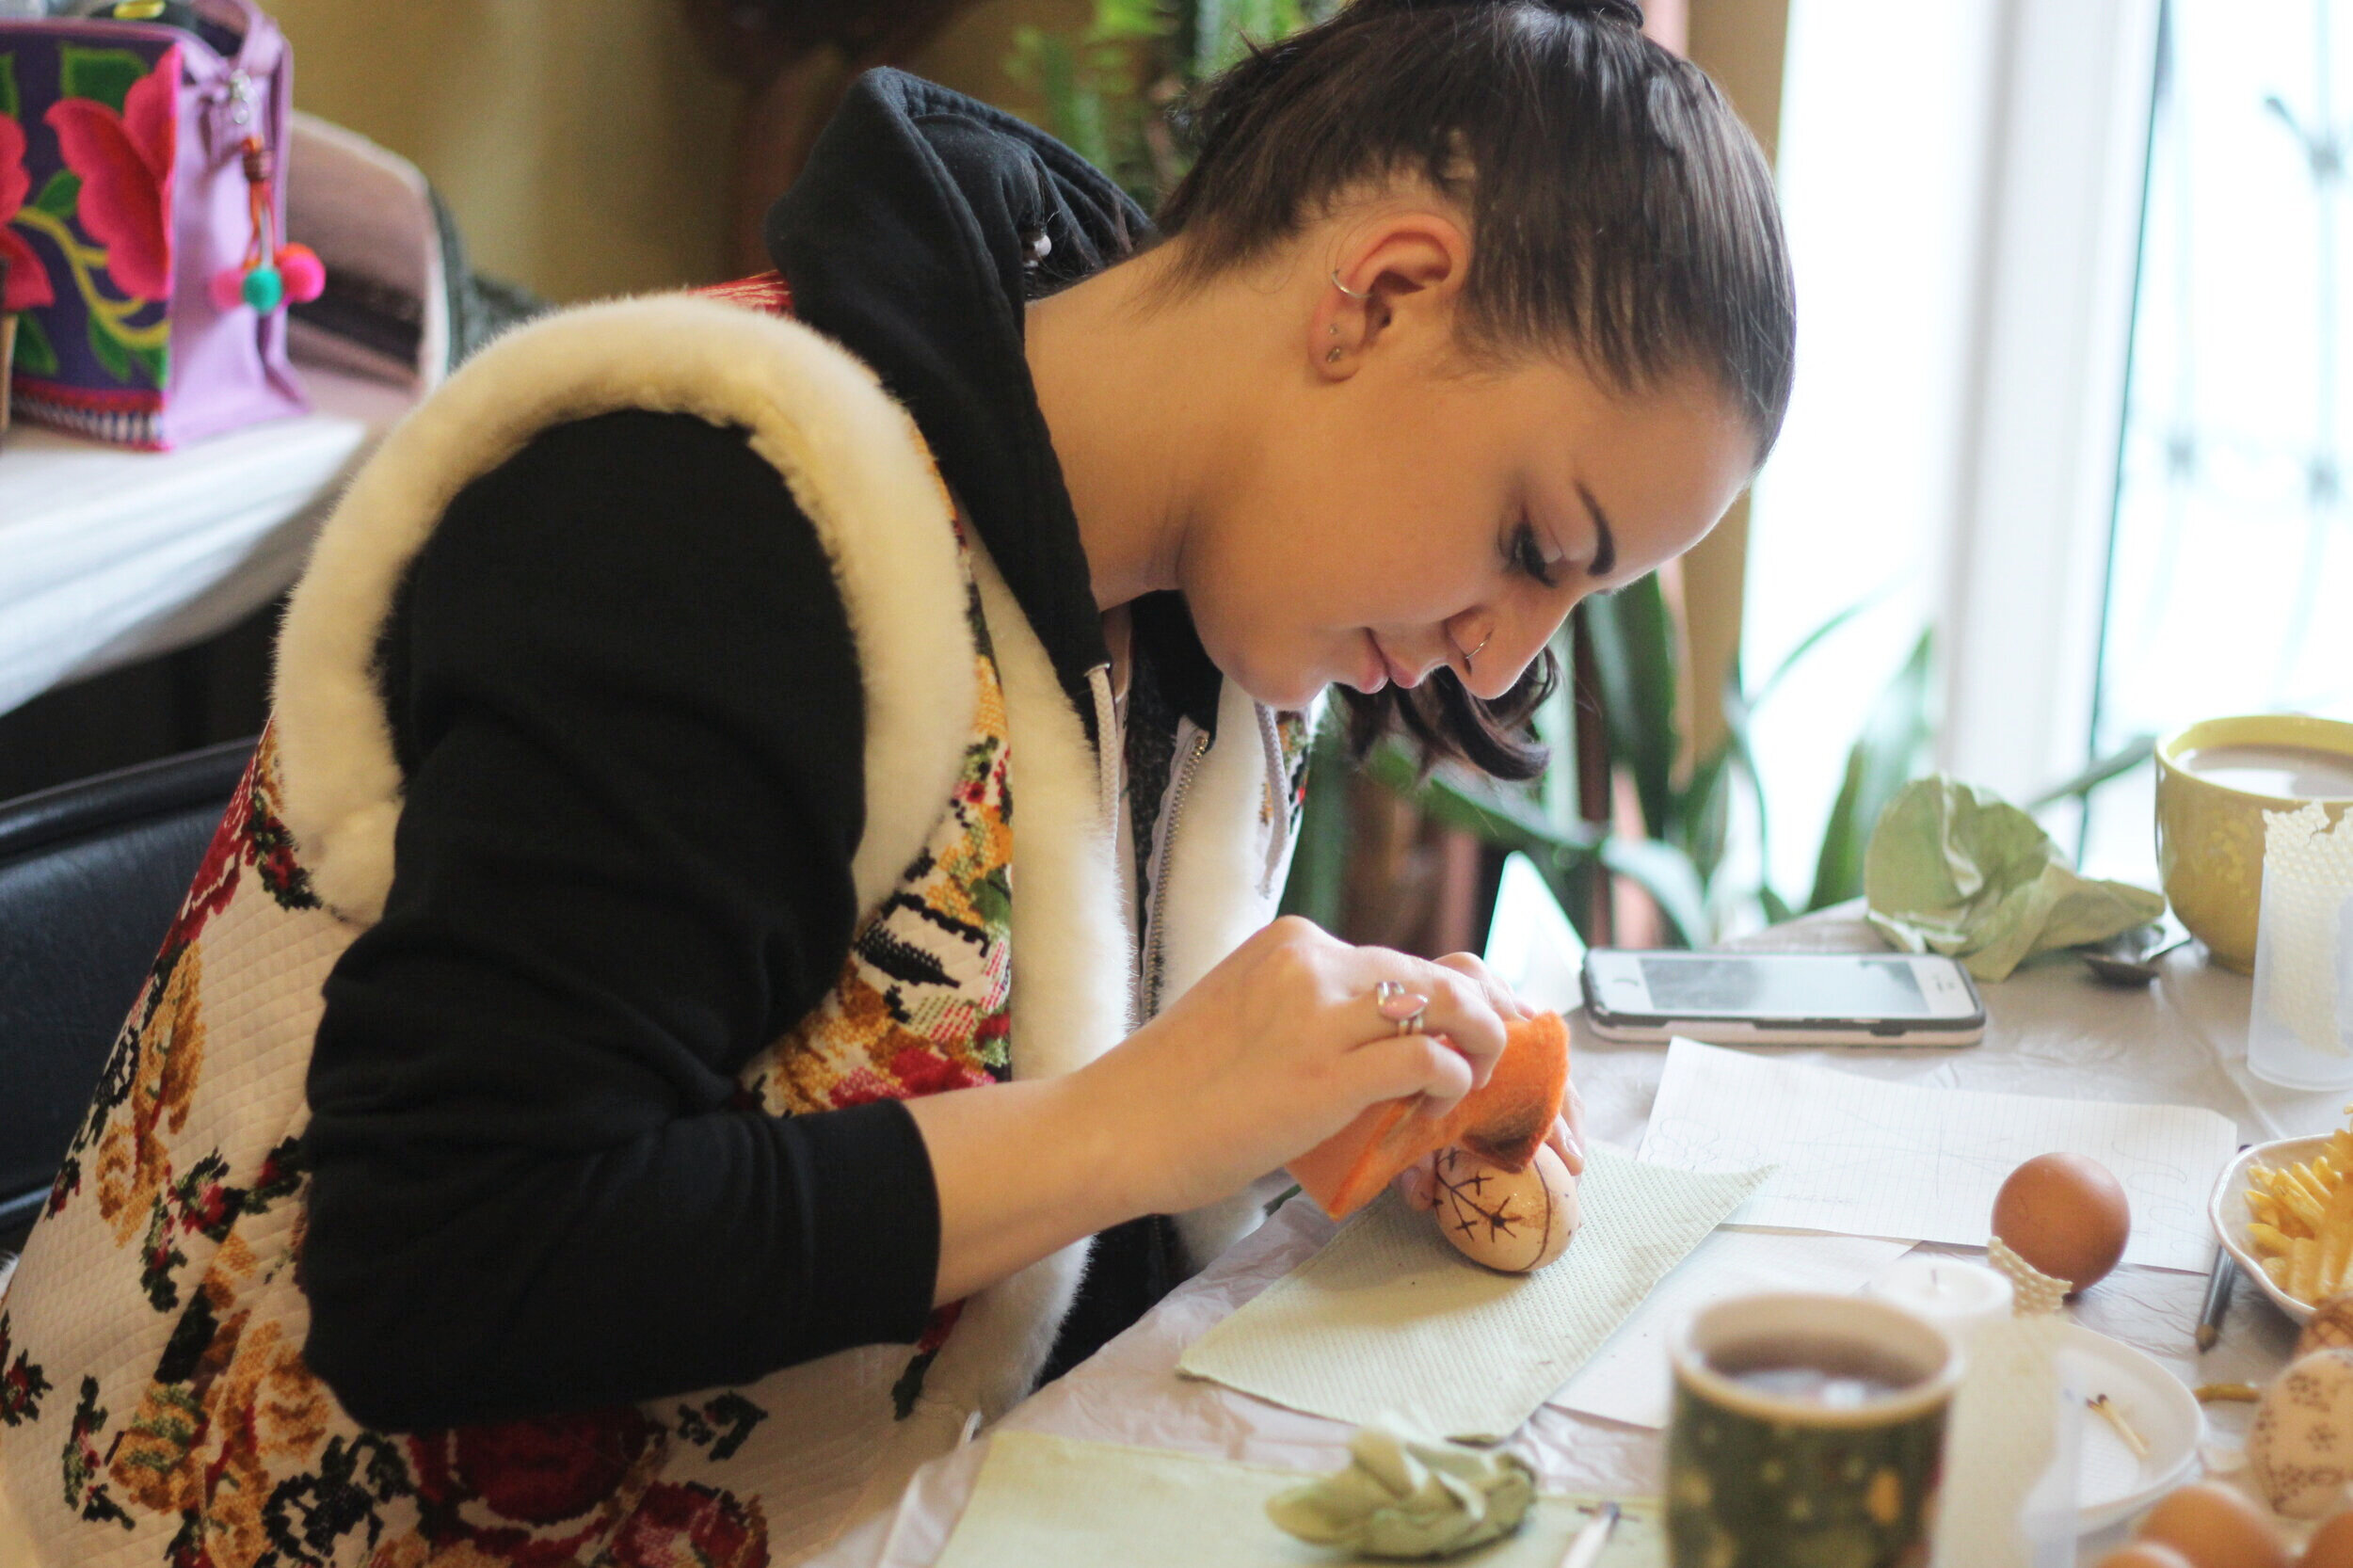
The next day at Pani Picklyk’s Pysanka Palace, we all brought coffee, tea, cookies, and chips to keep us energized for the day — because it was a daylong thing.
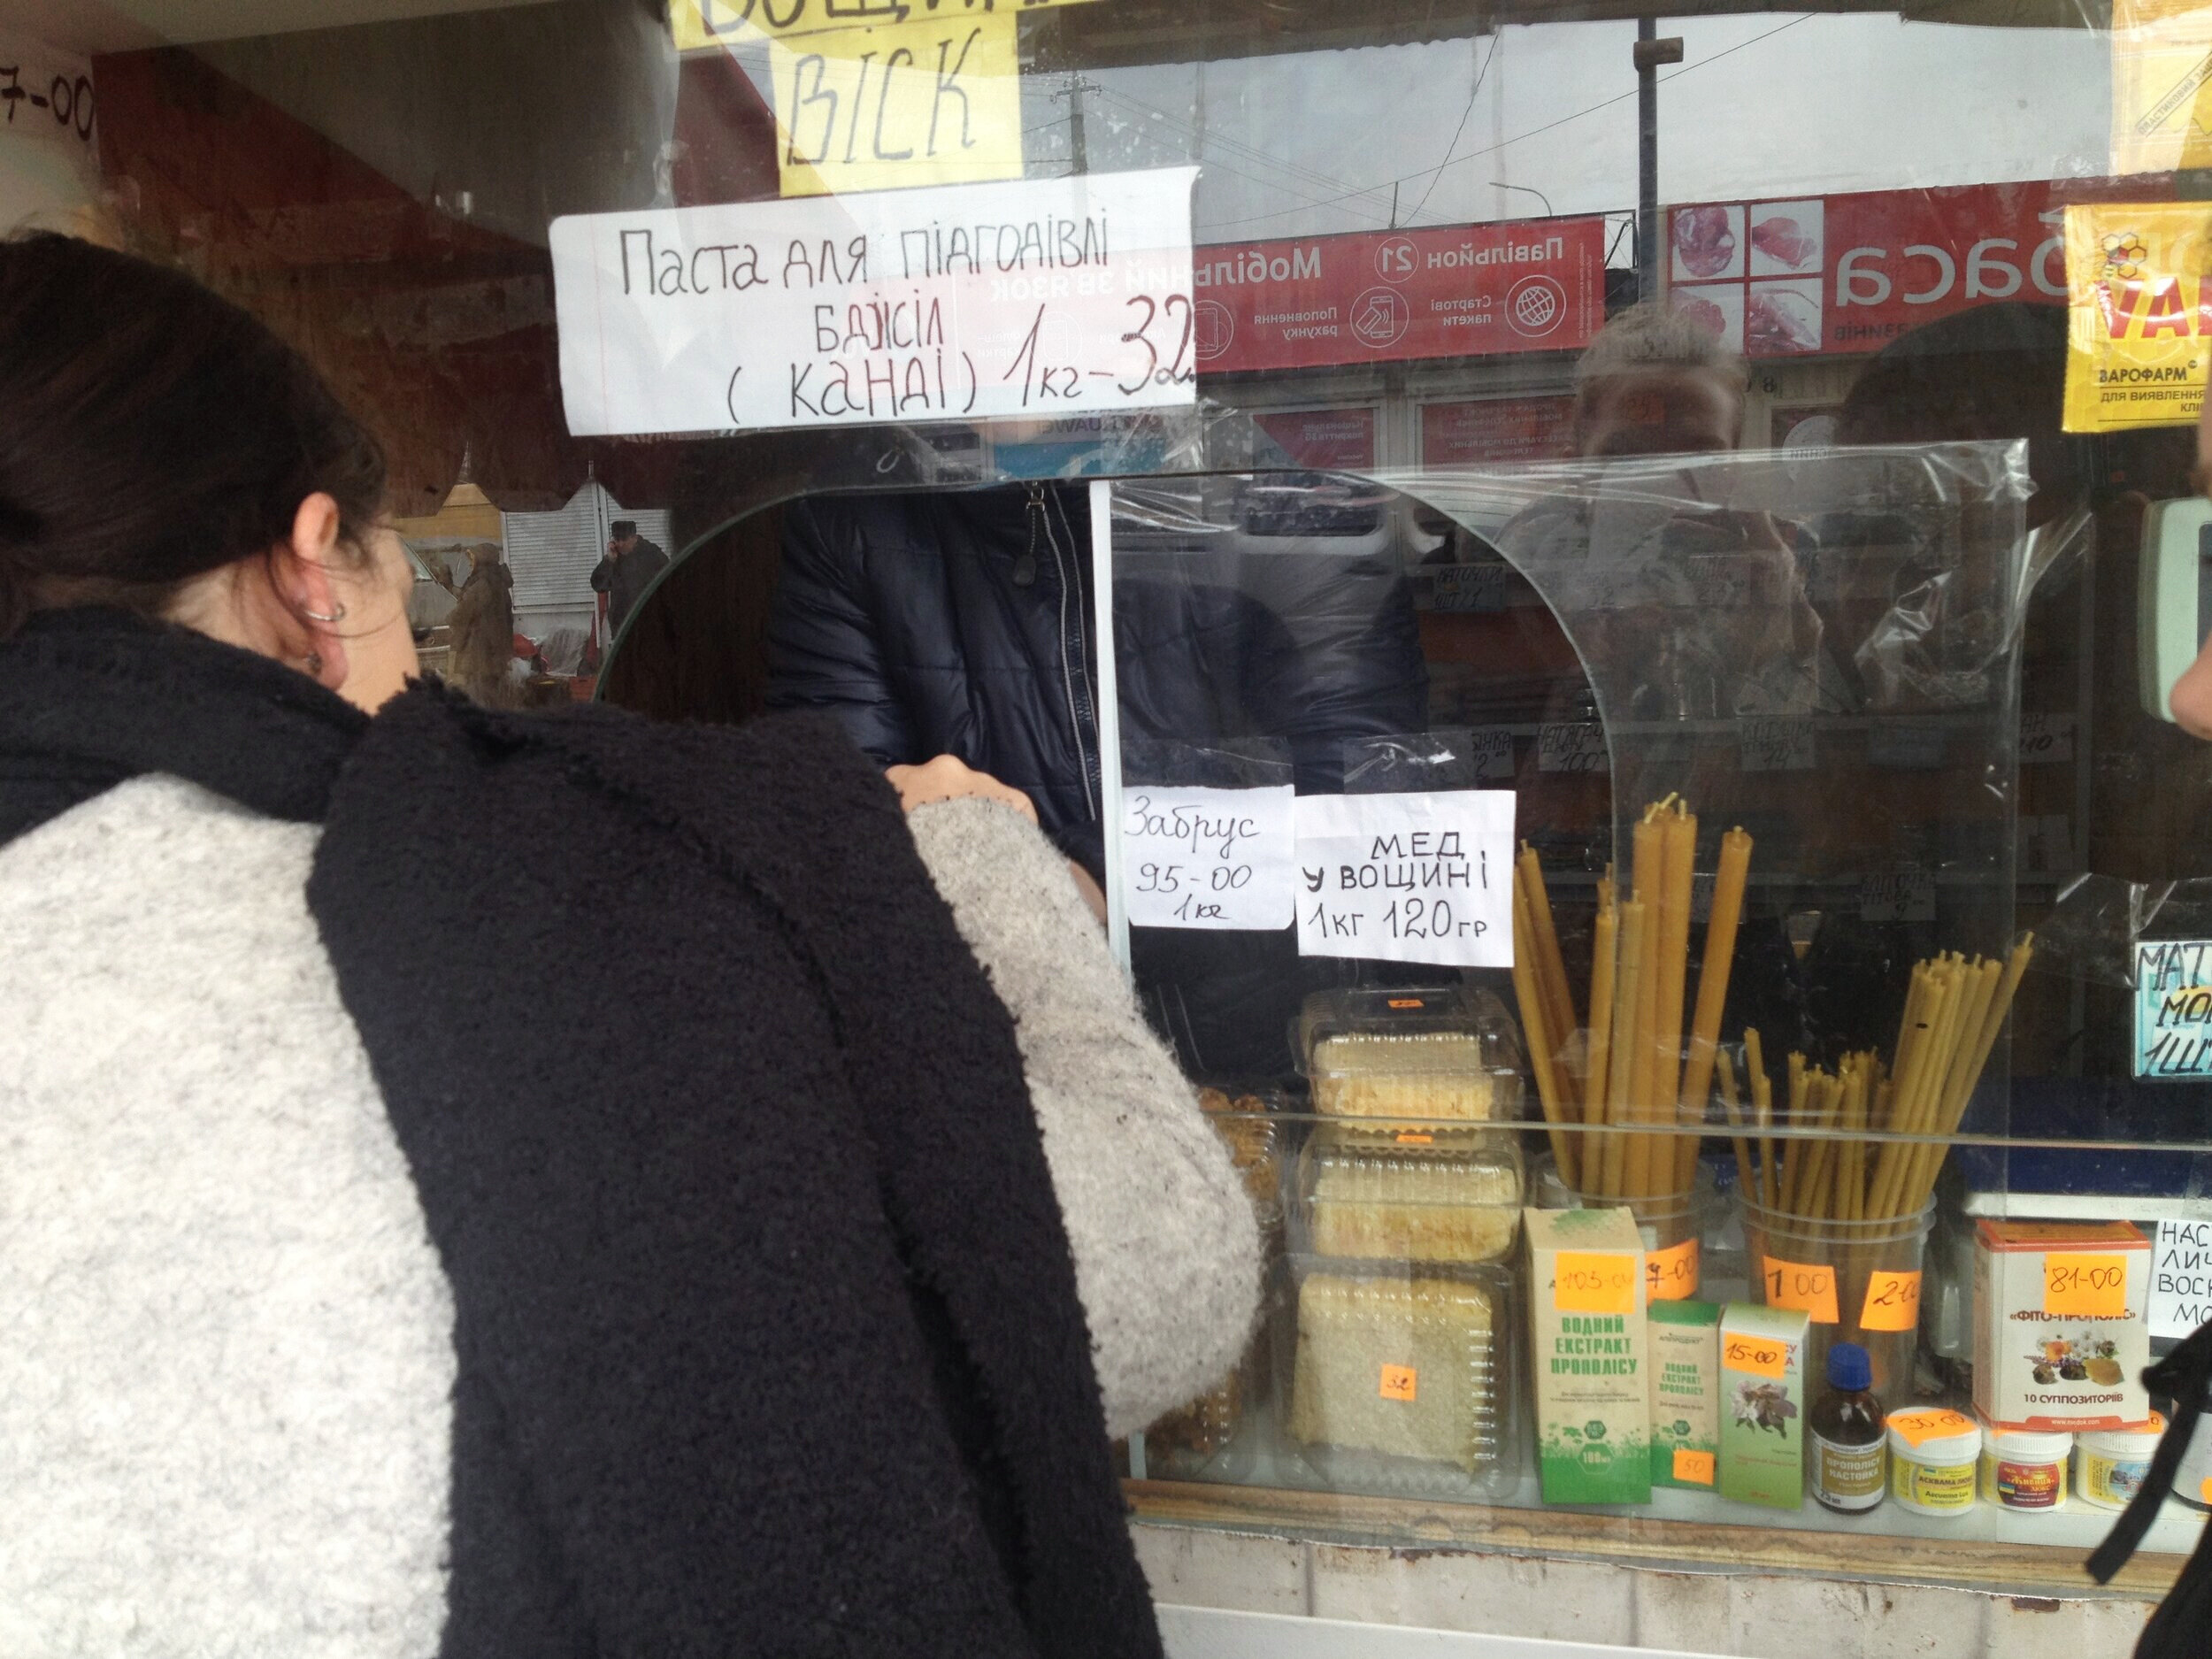
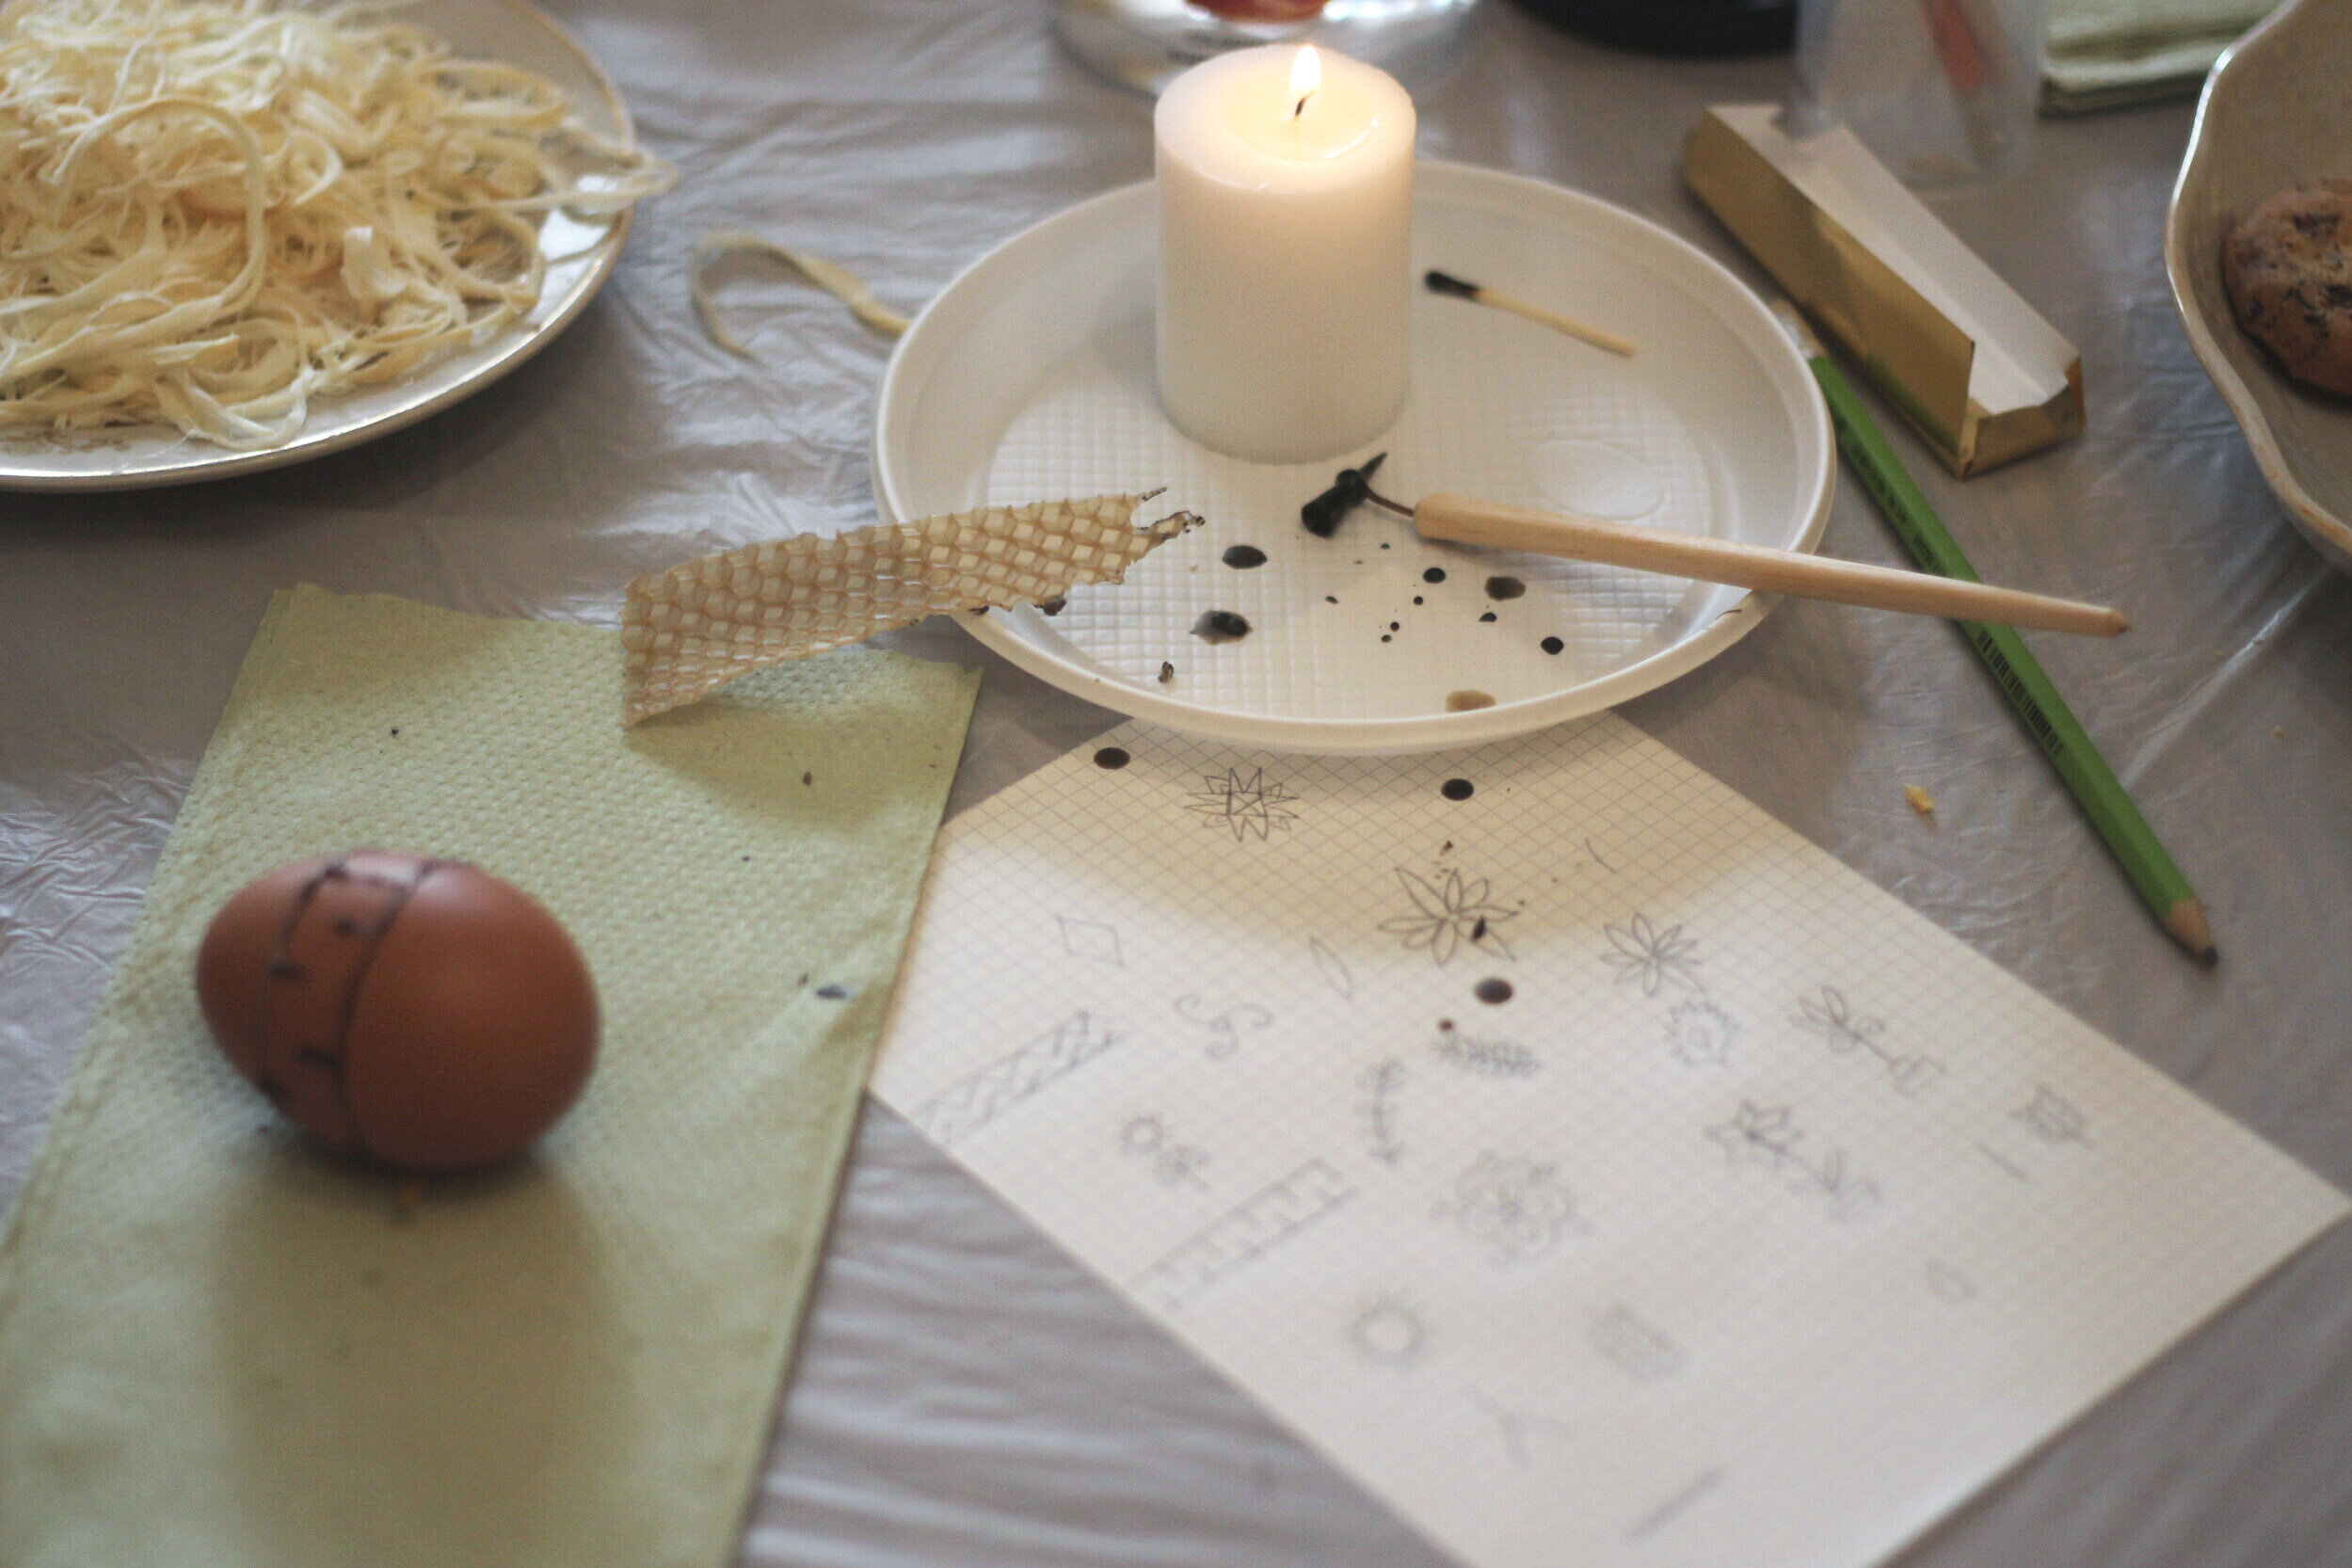
Each colour and every design on pysanky has meaning. (Read about symbols in this PDF and about colours here.) There are many ways to make these eggs, like with natural dyes, but we decided to do the etched style, which aren’t actually called pysanky but rather travlenky.
This is a more modern way to decorate eggs. After writing on the designs in wax, you dip the egg in vinegar to remove a layer of the shell. For white eggs, this results in a textured design — the parts covered in wax end up slightly raised. For coloured eggs, the parts not covered in wax will fade with each time you dip it in vinegar. So, the first designs you put on a brown egg, for example, will turn out brown in the end. The designs you put on after a first soak in vinegar will be a slightly lighter brown, and so on until you get to white.
How to make Travlenky
Though some decorated eggs are OK to eat (like ones that are first boiled then dyed), this type isn’t for eating. We left the yolks in the eggs, which eventually dried up. Another option would be to blow out the yolk, though some of the “magic” is said to come from the entire egg, not just its designs.
Supplies needed
Paper towel, cloth, or small brush (like a toothbrush)
Eggs
Kistka
Candle
Beeswax
Vinegar
Oil
Steps
Clean your egg with water, to make sure it’s nice and clean.
If you want, lightly sketch your design onto your egg with a pencil. Or, just practise a bit on a piece of paper. (I prefer to completely freestyle it, because I am not the most talented drawer, so for me sketching on the egg first would just make me even more upset with my lack of drawing skills.)
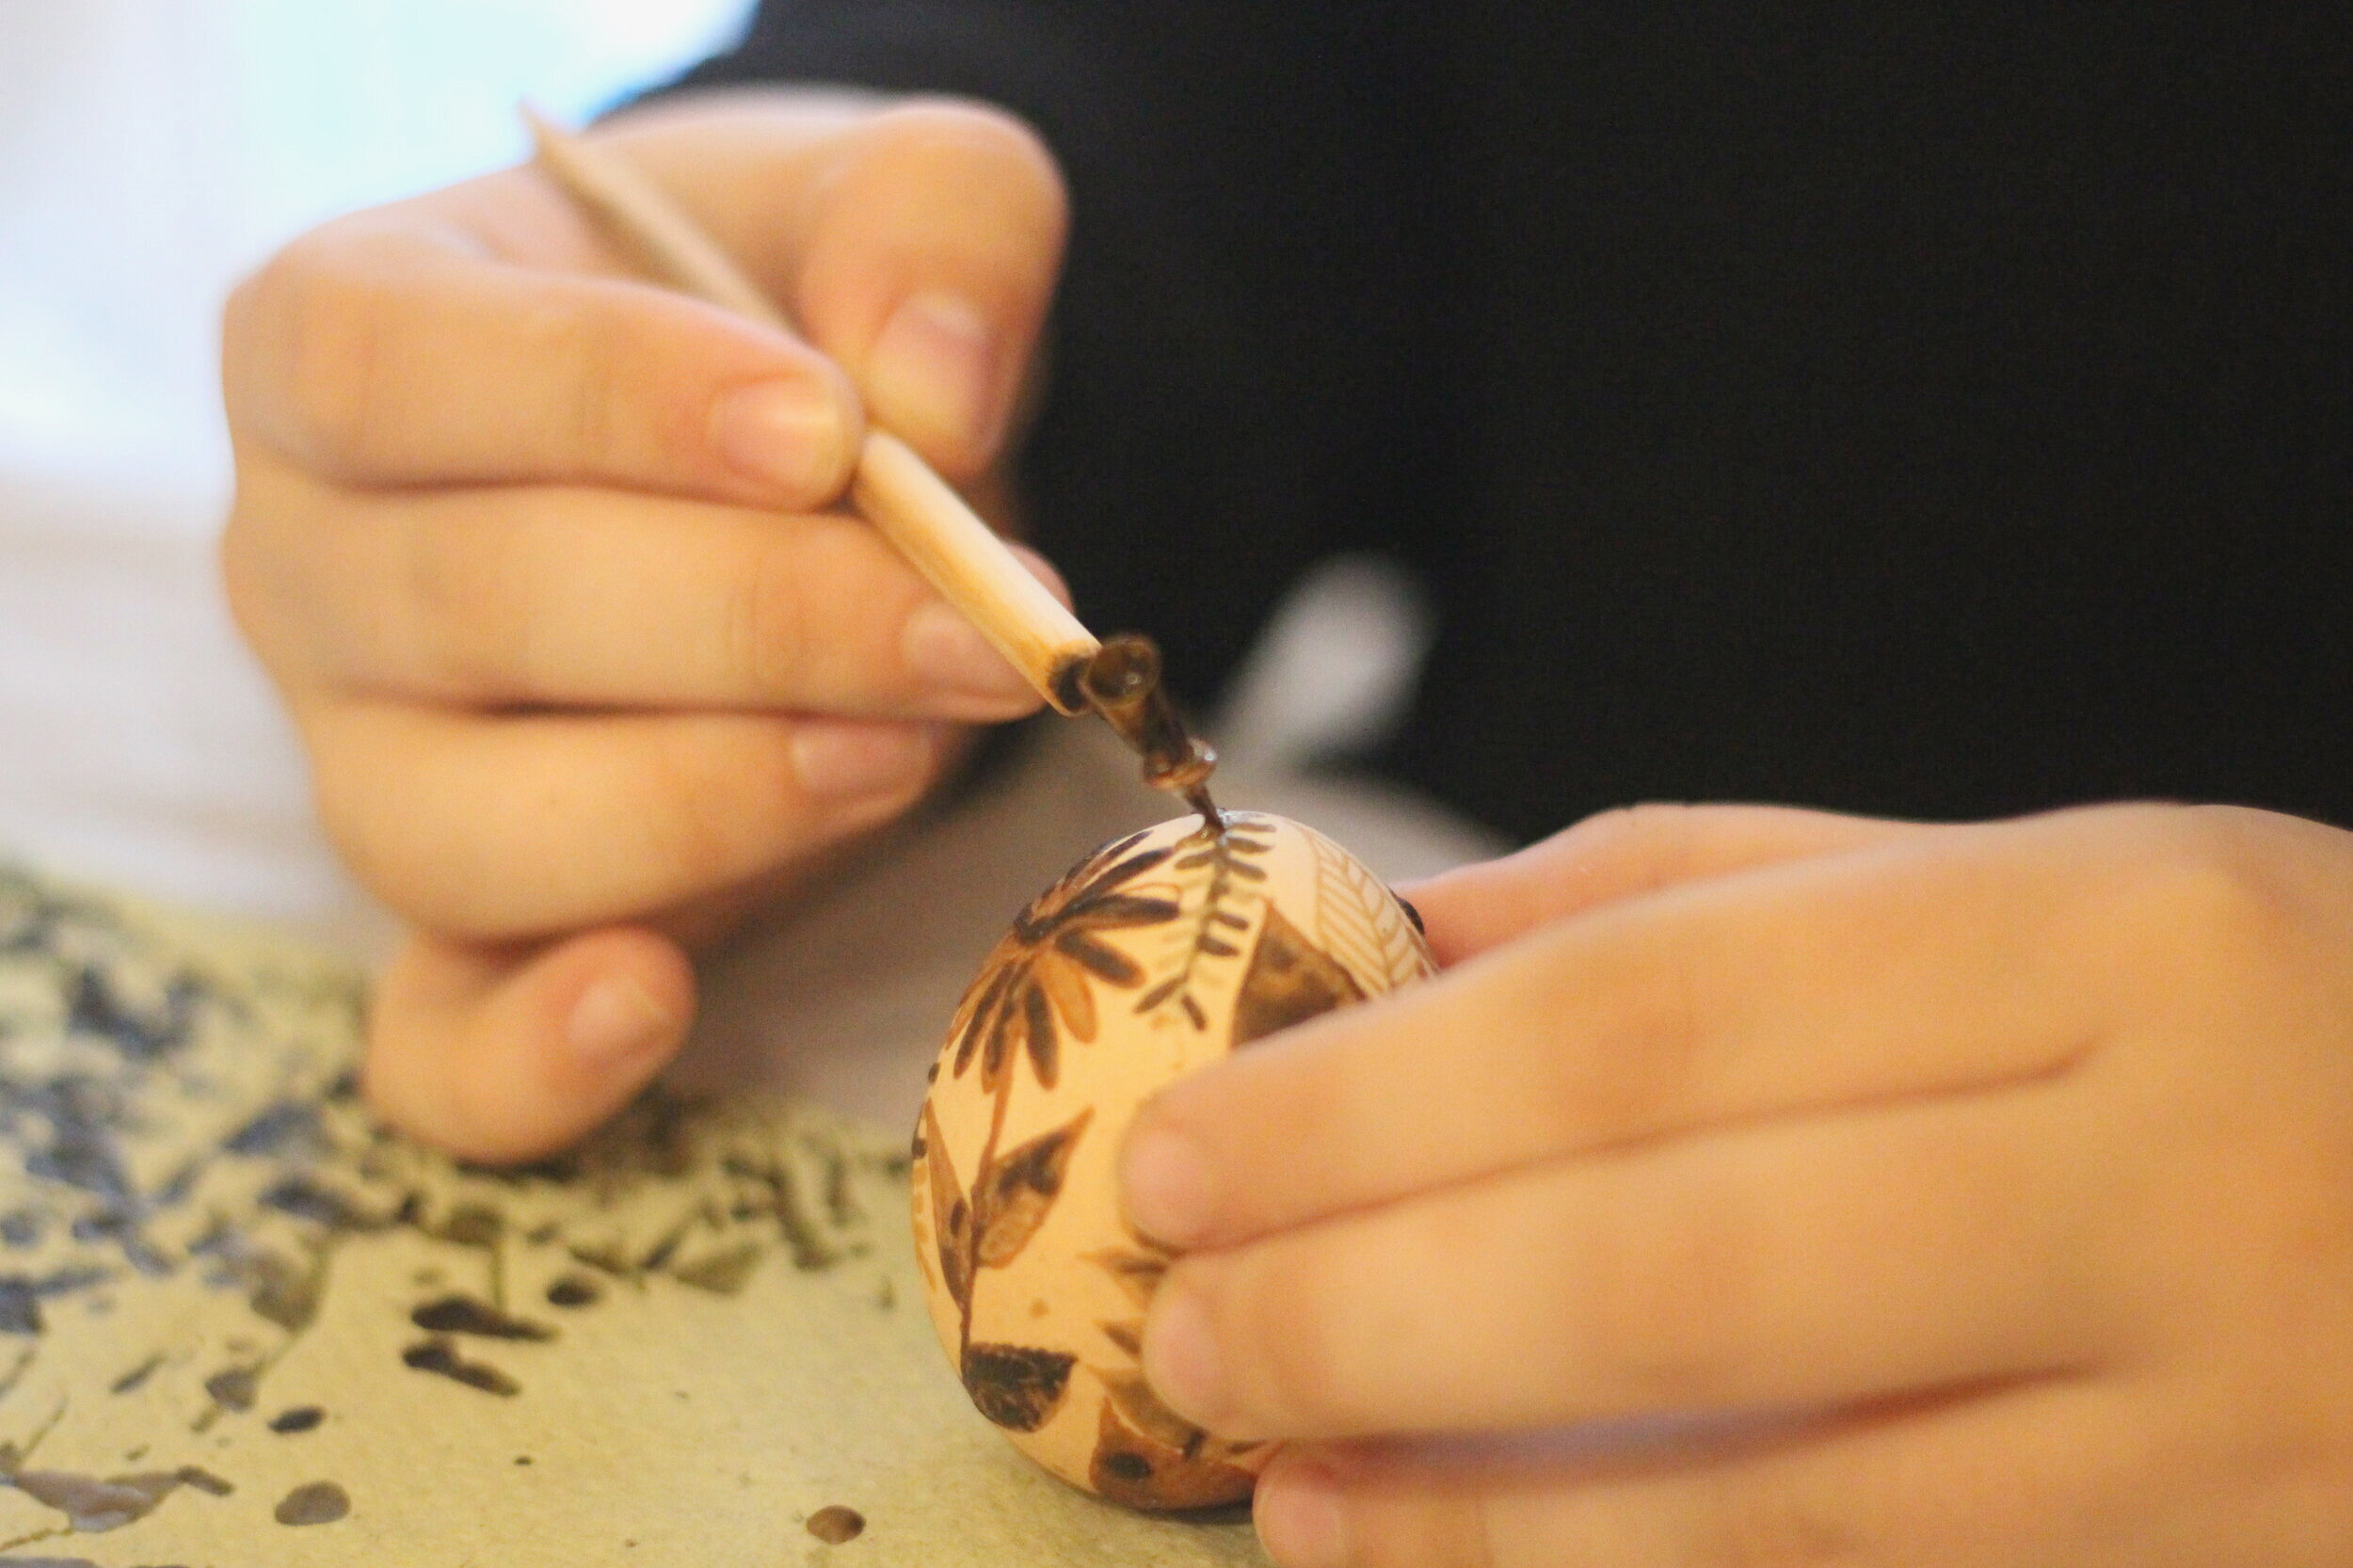
Heat the wider end of the kistka with the candle, then dip this end into the wax to fill it up.
Draw on the egg, using the thinner end of the kistka. Refill it with wax as needed.
When you’re done your first layer of designs, gently put the egg into a jar of vinegar, making sure the entire egg is covered. Let it sit for three to five minutes.
Remove the egg from the vinegar. Using your cloth/paper towel/toothbrush, gently remove the first layer of the shell.
Repeat steps 3 to 6 until your egg is white (if using coloured eggs).
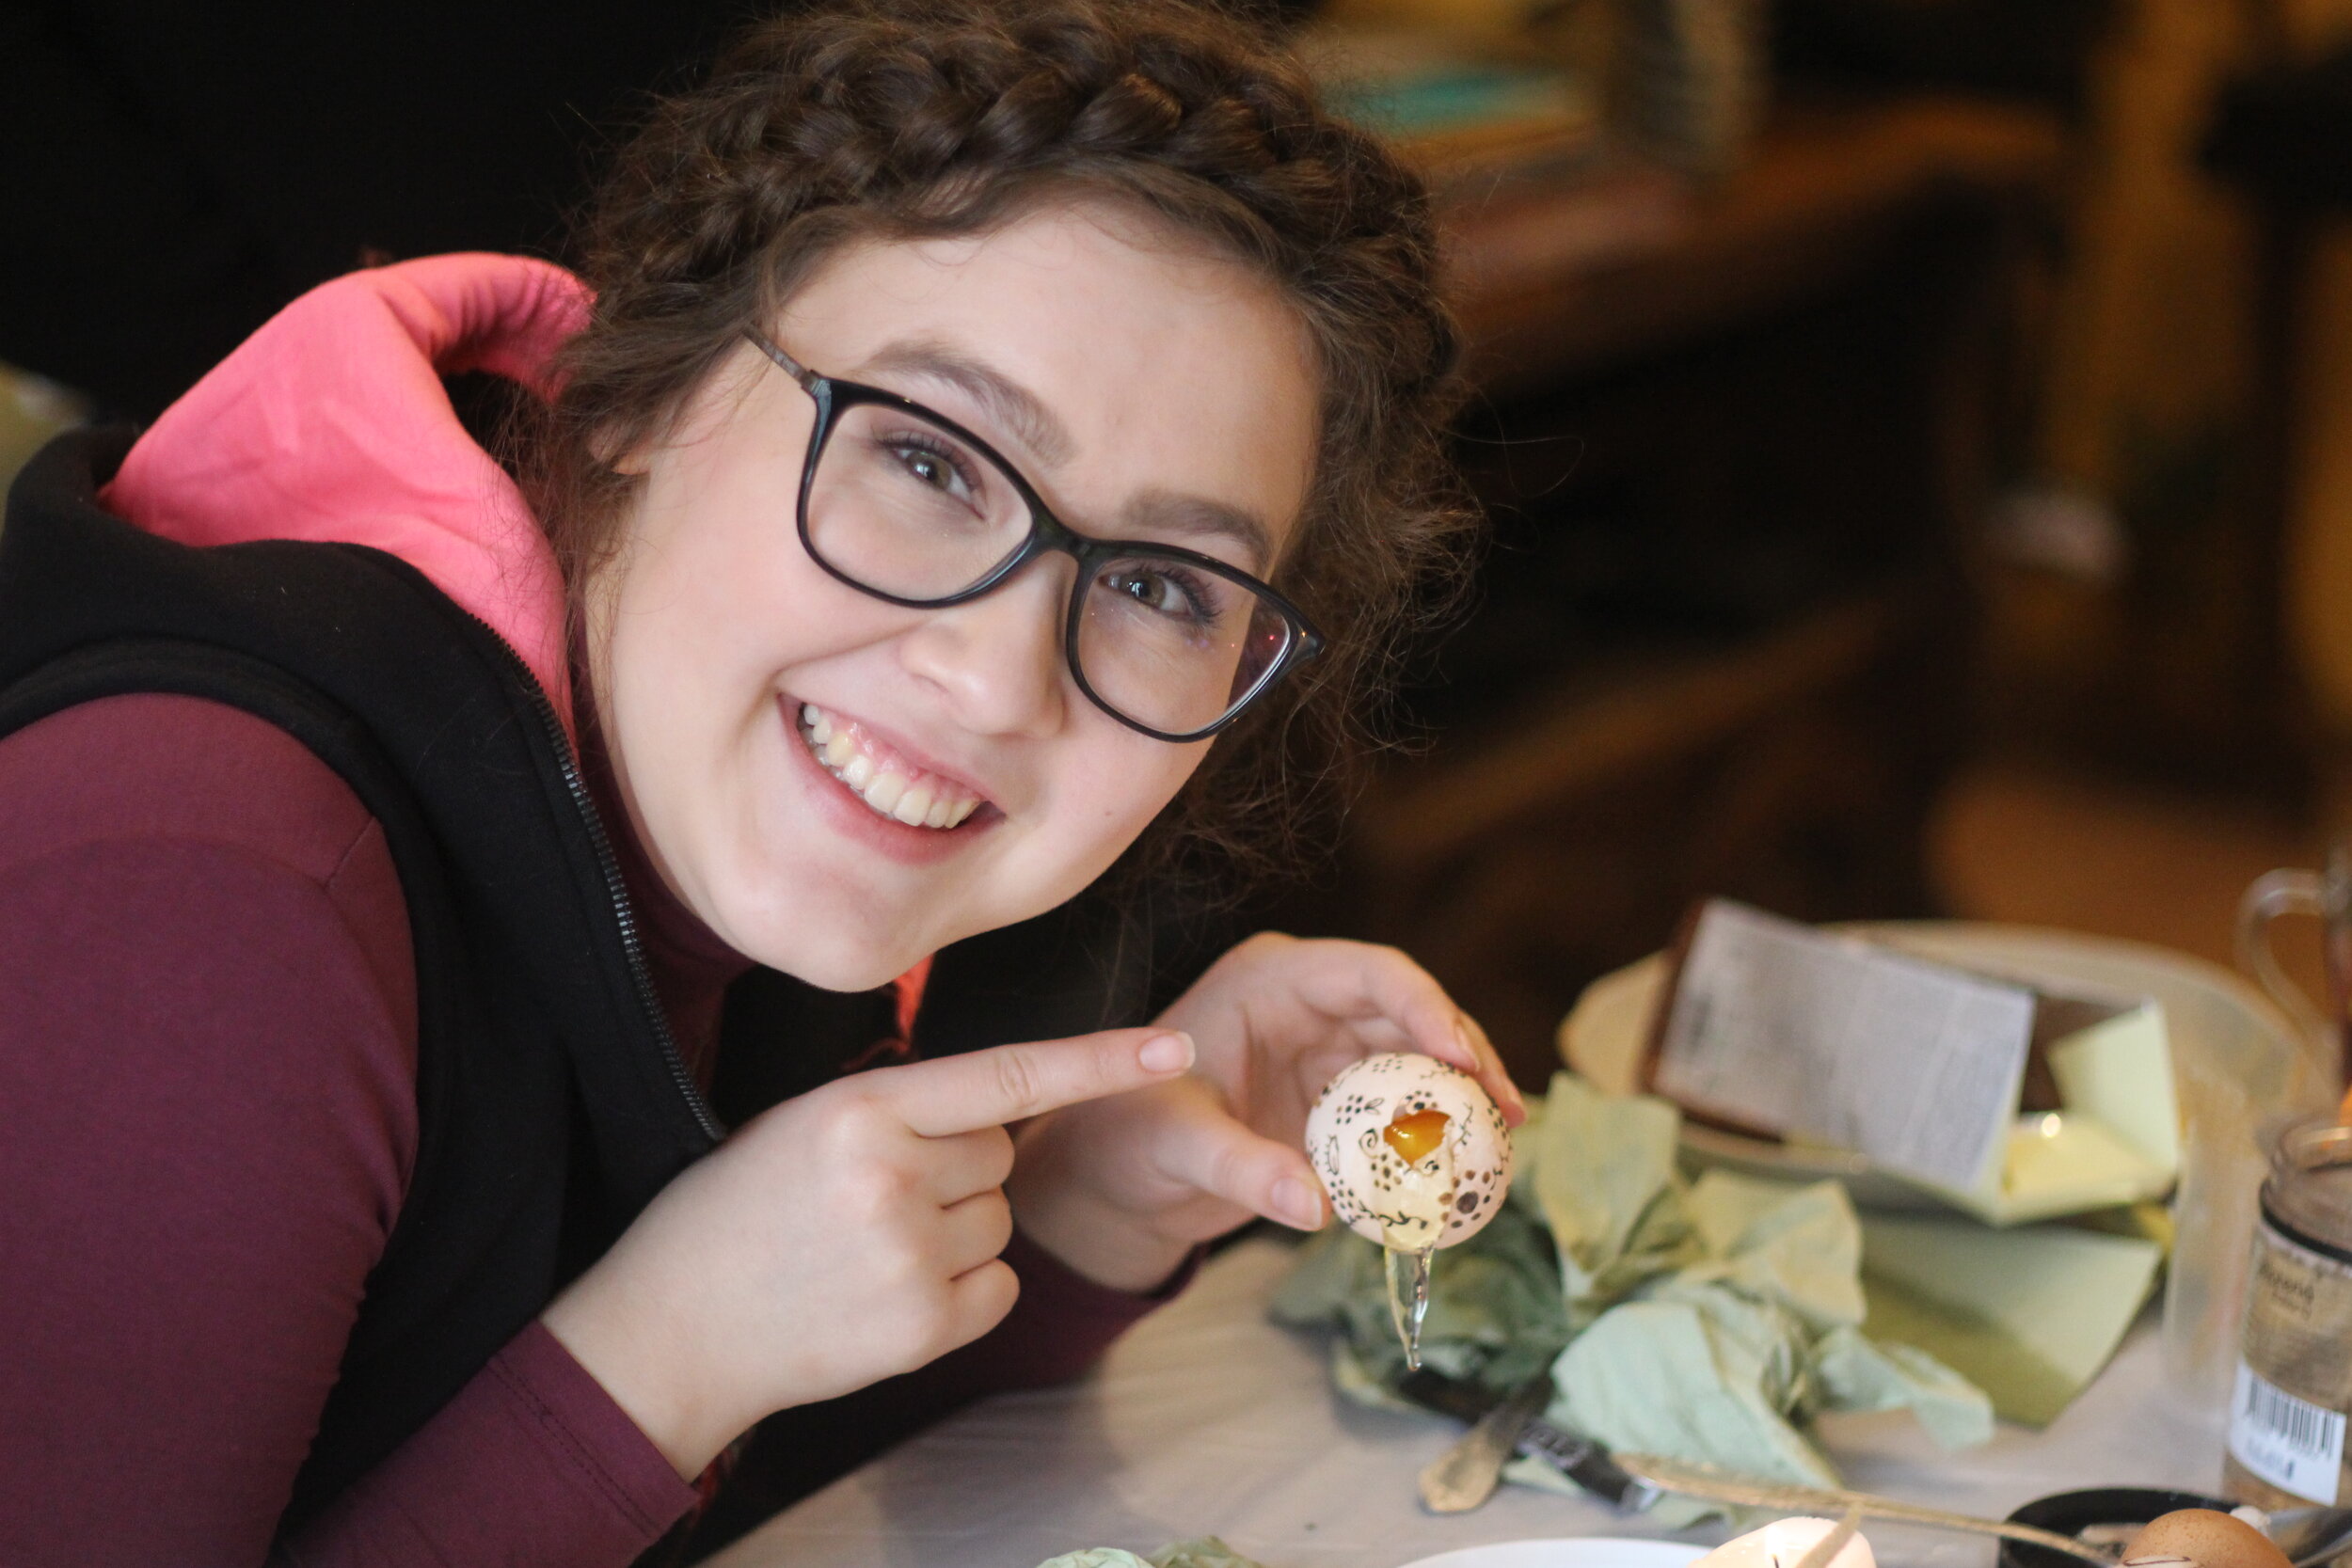
The final step is to remove the wax. Gently heat up oil, dip the egg in, then wipe away the wax. But make sure the oil isn’t too hot, otherwise your egg will crack (which may have happened a time or two or three at Pani Picklyk’s Pysanka Palace). Alternatively, you can remove the wax by holding the egg up to a candle to heat up the wax, then wipe it away. But Pani Picklyk recommends the oil method for travlenky.
So there you have it. There are fancier ways, with more steps, but this worked for us, and it can work for you. And don’t worry if you break an egg or two — at our pysanky party a couple years ago, I was somehow the only one who didn’t break an egg (too bad my design choices were questionable, but it’s all for fun anyways).
It’s time to go save the world, one pysanka at a time.

If you’re in Winnipeg and need any pysanky supplies, like a kistka or dyes, Oseredok is offering curbside pickup. Just get in touch at 204-942-0218 or info@oseredok.ca, and they can hook you up.